

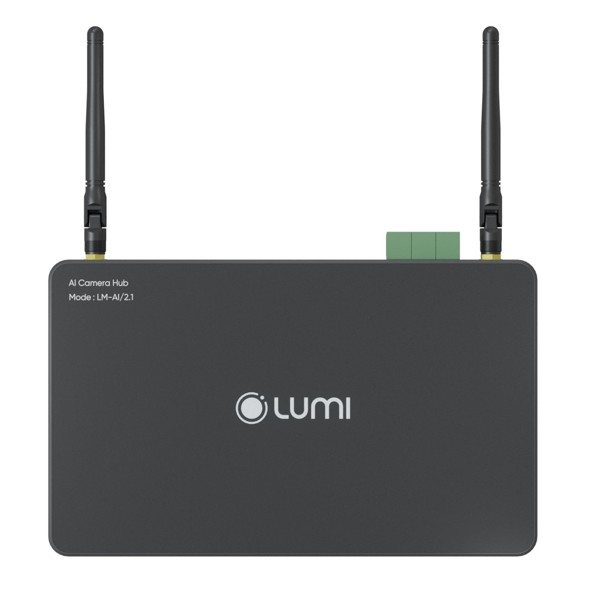
1. Technical specification
| Operating voltage | 12V DC/3A |
| Output contact point power | 10A/250V AC |
| Operating temperature | 0℃ – 50℃ |
| Communication | Zigbee & BLE Mesh |
| Zigbee & BLE Mesh transmission power | 10 dbm |
| Internet connection protocol | LAN |
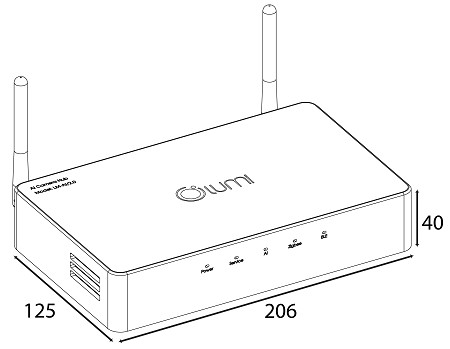
| Dimensions (L x W x H) | 160 x 129 x 26 mm |
| Weight | 930 gram |
| Maximum number of cameras that can be integrated with AI processing | 6 Camera IP |
NOTE: Cameras used in the same system as AI Camera Hub with higher resolution will have more accurate recognition.
2. Installation
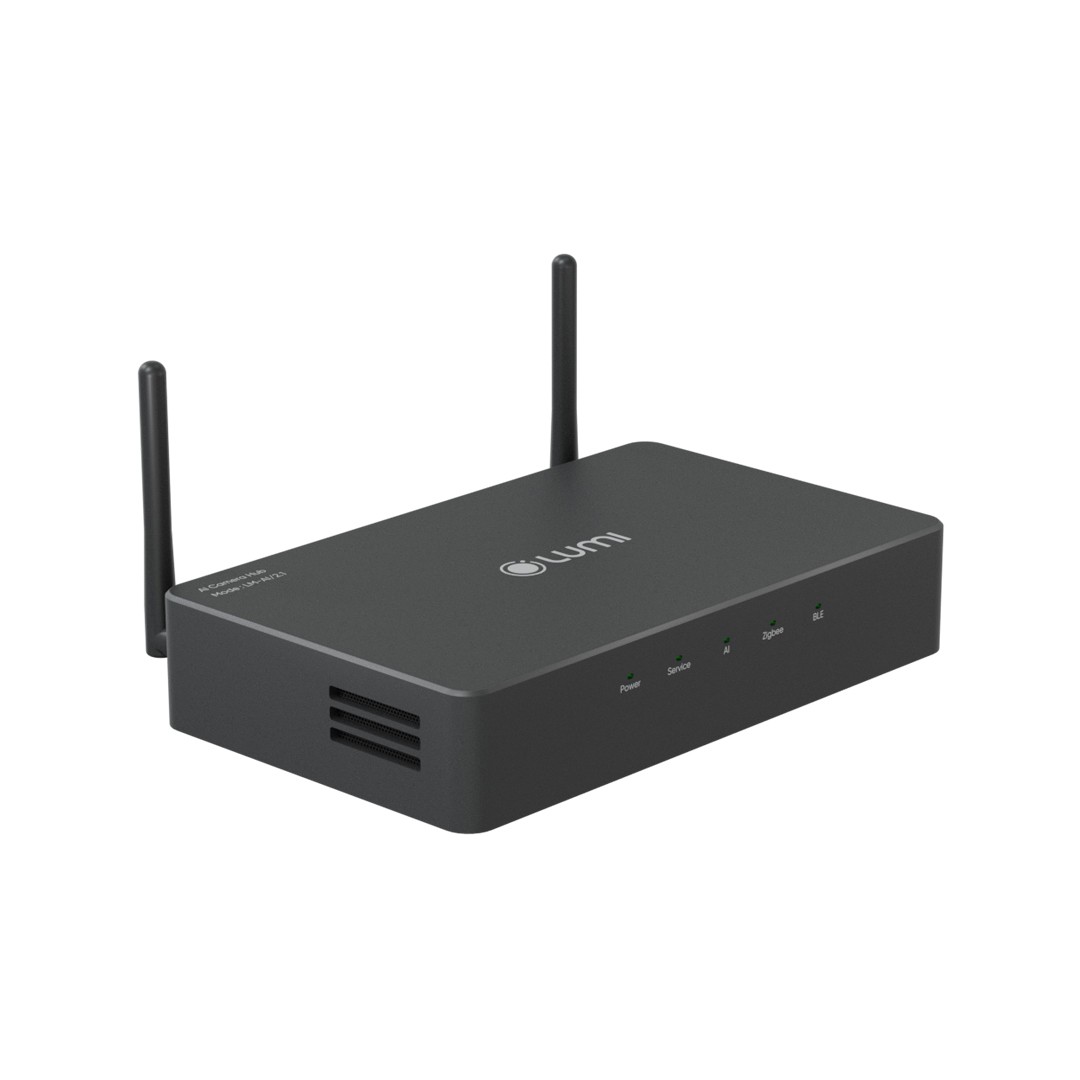
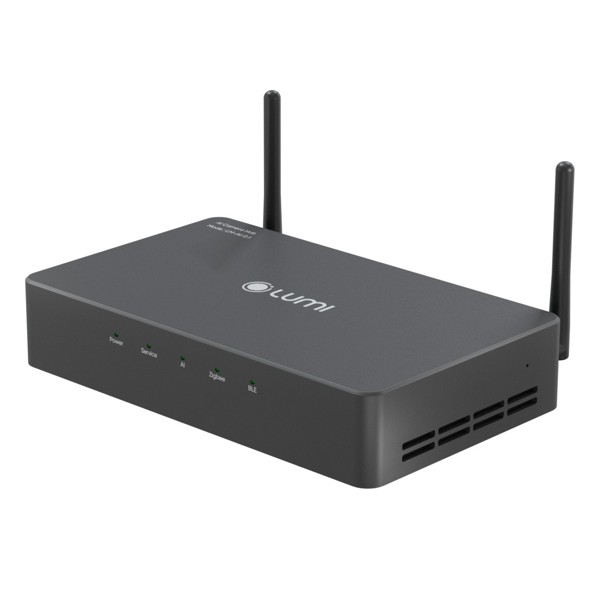
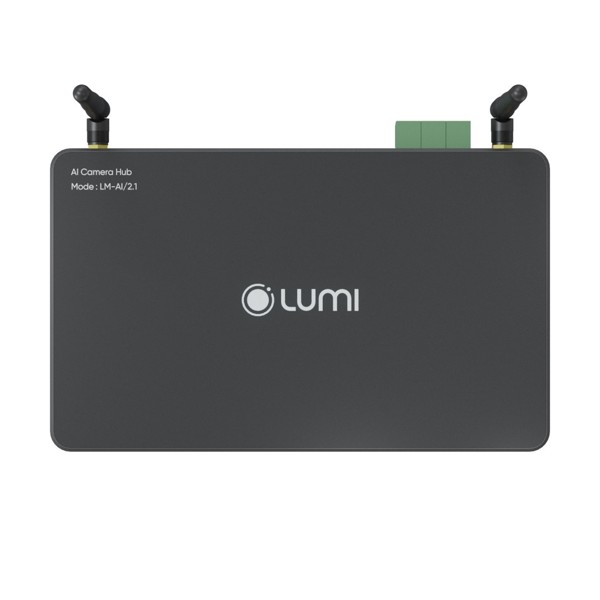
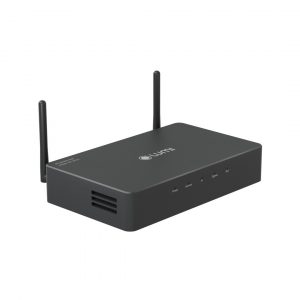
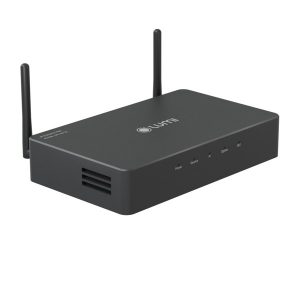
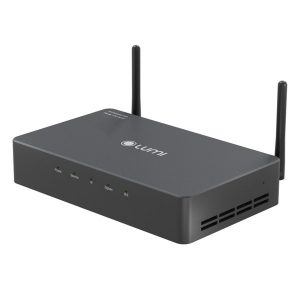
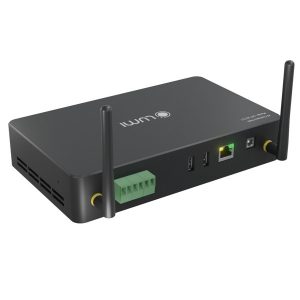
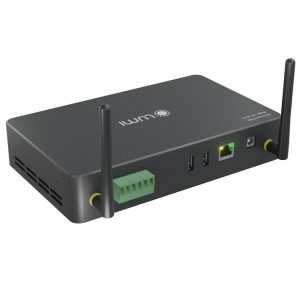
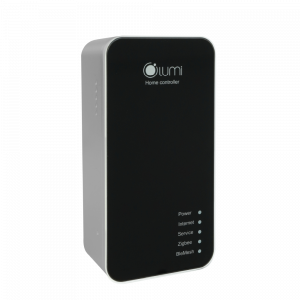
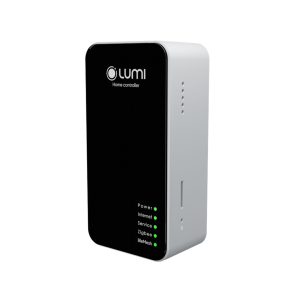
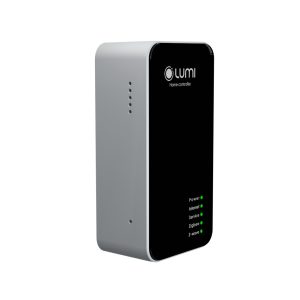
2.1. Device indicator lights
- Service (Led 1)
- AI (Led 2)
- Zigbee (Led 3)
- BleMesh (Led 4)
2.2. Firmware update
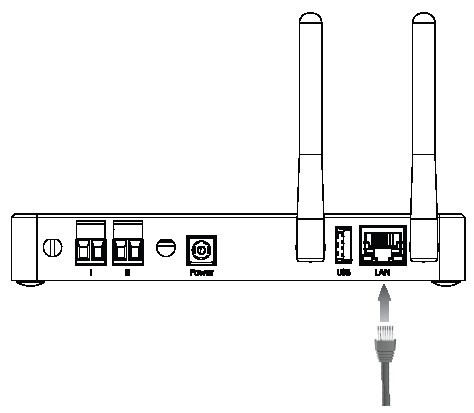
Before you begin, make sure that your computer and the AI Camera Hub are connected to the same local area network (LAN).
- Launch the Desktop App Lumi Life software and sign in with your account.
- Choose the home having the AI Camera Hub that you want to update.
- Click on the Settings icon on the top right corner of the screen and select Firmware Update from the drop-down menu.
- The software will automatically check for the latest firmware version and prompt you to download and install it if available.
- Follow the on-screen instructions to complete the firmware update. Do not disconnect or power off the AI Camera Hub during the update process.
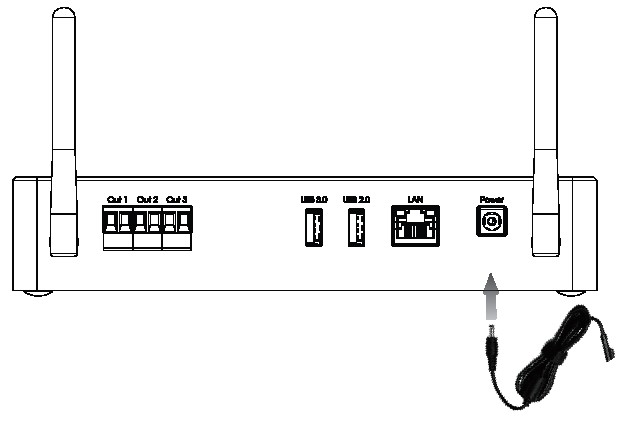
2.3. Power supply
3. Configuration
3.1 Internet connection

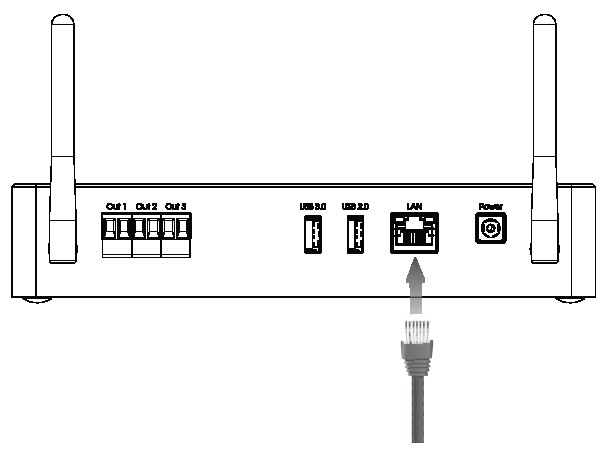
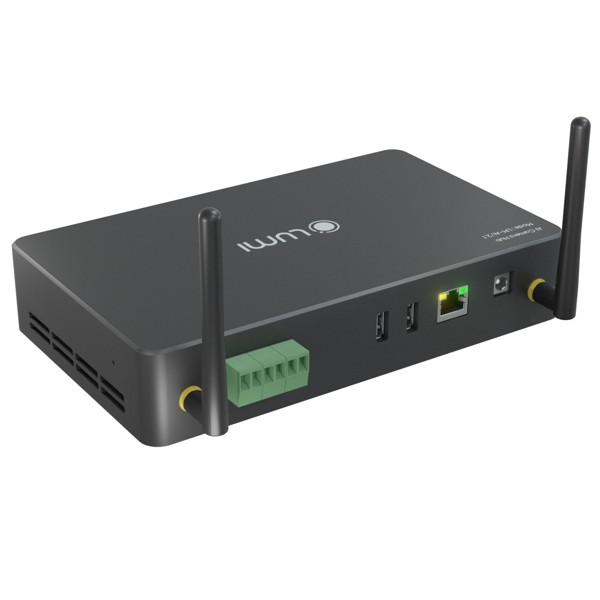
- For the AI Camera Hub central controller, we will only use one method to connect to the internet, which is to plug in the LAN cable.
- If you have already set up your HC system in your house, you can easily relocate the AI Camera Hub to any place with a LAN port and enjoy the same functionality.
- If you have not set up your HC system yet, you need to follow the instructions here to add the AI Camera Hub to your house after connecting it to the LAN cable.
3.2. Operating mode
- The AI Camera Hub central controller has 2 operating modes: Home Controller (HC) and Local Controller (LC).
NOTE: For projects that need to use both HC/LC, technicians can install AI Camera Hub and HC with BLE Mesh side by side.
- By default, AI Camera Hub will be in Home Controller mode, which is the main central controller in the system.
- When needing to expand the number of devices in 1 system, users need to use more than 1 central controller.
- In this case, there will be 1 central controller (also known as HC) in the system and the remaining central controllers are the secondary central controllers (also known as LC).
- To set up an AI Camera Hub as a secondary central controller, users refer to the instructions for adding LC into the house.
4. Installation and configuration recommendations
4.1. Installation recommendations
Install AI Camera Hub
- Find a cool and well-ventilated spot for the hub, away from any metal or electrical cabinets that might interfere with the wireless signal.
- Connect the hub to your router or switch using an ethernet cable. The hub does not support Wi-Fi or other wireless connections.
Install cameras
- Install the cameras at the desired locations, making sure they are high enough (between 2.5 and 7 meters) and angled correctly (between 25 and 60 degrees) to capture the area you want to monitor.
- Avoid placing the cameras behind any glass surfaces, as this can cause false detection of objects or people.
- Test the cameras and adjust their positions if needed. You can also draw the areas you want to focus on using the app on your smartphone or tablet.
4.2. Configuration recommendations
Configuration of AI-Controller
- To set up the AI-Controller, you need to connect the AI Camera Hub to the network with a LAN cable. The AI Camera Hub can only use ethernet, not wifi. You can find the Mac HC on the box of the product. You will need to enter this number when you are asked for it.
- The AI Camera Hub should be the main controller of your home. If you want to add other controllers, they have to be HCG1 models. You cannot use other types of controllers as slaves.
- If you want to use the AI Camera Hub as a slave, you have to make sure that the master controller is also a HCG1 model. It can be a new one or an old one with firmware version 2.0.2.
Configuration of camera
- Only supports 2 brands of cameras HIK and Dahua.
- Supports IP cameras and IP recorders.
- Configure the sub stream encoding standard of the camera to H264.
- Configure the sub stream baud rate of the camera to 1024.
- Configure the sub stream fps of the camera to the highest.
- Configure the I-frame of the sub stream of the camera to 25.
Zone configuration
- To configure the zone, you have to draw it on the screen. The zone is the area that you want the camera to monitor. You have to make sure that the zone is not too small, otherwise the camera might not detect anything.
4.3. Recommendations for use
To get the best recognition results, customers should:
- When sitting, it is recommended not to cover your face.
- Do not let the camera only be able to see the back of the neck, after the head.
5. Restart the device
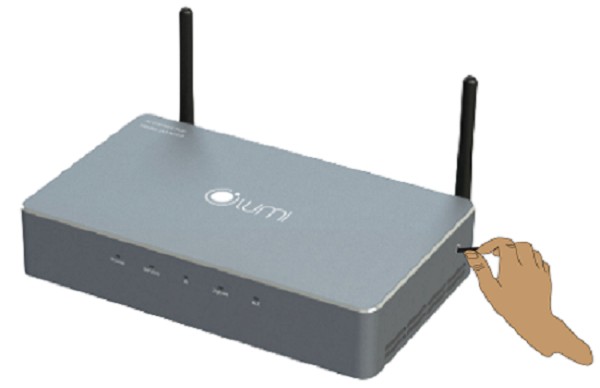
To restart the device, in addition to unplugging and plugging it back in, you can also press and hold the Config button for 5 seconds until the Service Led and AI Led light up, then release your hand. The device will then automatically enter restart mode.
6. Reset the device
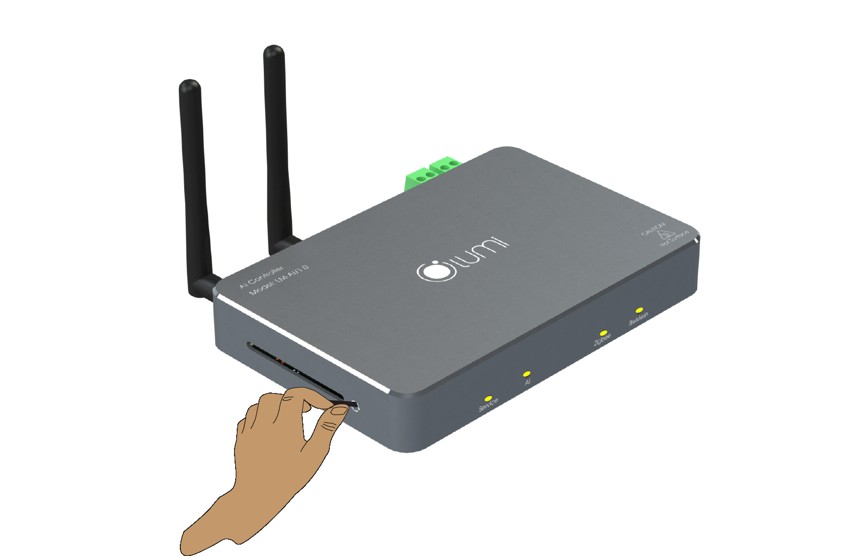
To Reset the device, the user presses and holds the Config button for 10 seconds until all 4 Leds are lit up, then releases the hand. At this time, the device will start the Factory Reset process and restart.
7. Use the 2 default output signal ports on the product
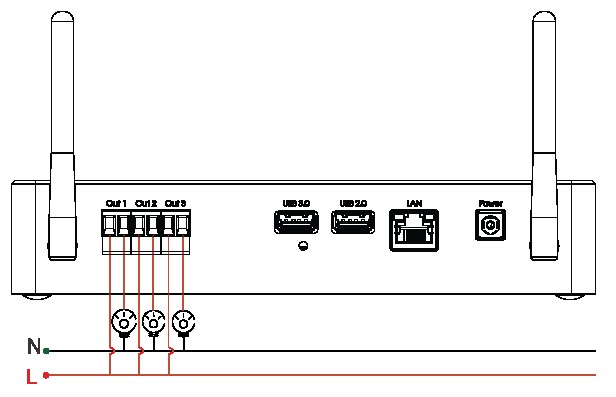
The AI Camera Hub product allows users to connect external devices such as lights, sirens, or alarms for security purposes. The product has two output signals, each with two ports that act as a switch. When the switch is on, the ports are closed and the devices are activated. When the switch is off, the ports are open and the devices are deactivated. The maximum output load for each signal is 8A.
.
After installing the device at home, users can access the “New” device on the app and see two icons as shown in the figure. These icons let users switch on or off the output signal of the device.
8. Integrating the AI processor into image processing on the camera.
- Lumi’s AI Camera Hub is a device that can stream and process live images from cameras on the local network, using an AI algorithm to recognize humans and objects. This is different from the previous Lumi ecosystem, which relied on HIKvision smart cameras to do the image analysis on the camera hardware. However, this could lead to some errors in object identification that Lumi could not control.
- With the AI Camera Hub, the cameras only capture images, while the image processing and human recognition are done by the AI processor developed by Lumi. This improves the accuracy and efficiency of the system. For technicians who want to learn more about how to integrate the AI algorithm of the AI Camera Hub into IP Cameras, please see the details here.
Reviews
There are no reviews yet.